What Happens During a Professional Roof Inspection? (Step-by-Step Guide)
Many homeowners assume an inspection is just a quick glance at the shingles, but a thorough professional roof inspection goes much deeper. Roofers examine structural integrity, look for hidden damage, and assess areas that may cause future issues.
A roof inspection is one of the best ways to prevent unexpected repairs, but what actually happens after your schedule one?
In this guide, we’ll break down what happens during a professional roof inspection, step by step, so you know what to expect and why it’s essential for protecting your home.
Why You Need a Professional Roof Inspection
Your roof is constantly exposed to the elements—rain, wind, heat, and storms all take a toll over time. A professional inspection can:
-
Identify small issues before they become costly repairs
-
Ensure your roof is structurally sound
-
Help maintain your home’s value
-
Provide documentation for insurance claims
-
Extend the lifespan of your roof
Even if your roof looks fine from the ground, there could be hidden damage that only a trained professional can spot.
What Happens During A Roof Inspection
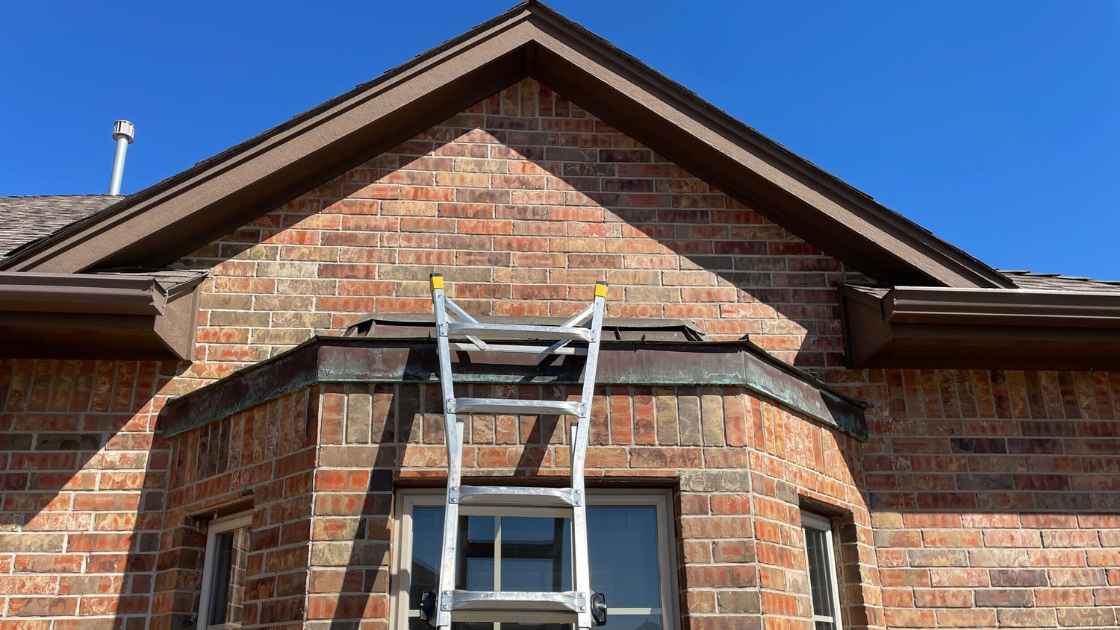
Step 1: Exterior Roof Inspection
A roof inspection usually starts outside the home. Using ladders or drones, the roofing professional will assess the condition of your roof’s exterior.
What roofers look for:
-
Shingles – Are any missing, cracked, curled, or loose?
-
Flashing – Is the metal around vents, chimneys, and skylights intact?
-
Gutters and Downspouts – Are they clogged, rusted, or pulling away from the house?
-
Roof Valleys – Is debris or pooling water present?
-
Moss, Algae, or Mold – Is organic growth damaging the shingles?
-
Sagging or Structural Issues – Are there signs of uneven roof lines or weak spots?
Why exterior roof checks matter:
Damaged shingles, flashing, and valleys are common causes of roof leaks. Identifying these problems early can save thousands in repairs. Plus, it can prevent having to replace your roof early, which can save you thousands!
Step 2: Interior Roof Inspection (Attic & Ceilings)
Next, the inspector will check inside your home, focusing on areas that may reveal hidden roof damage.
What roofers look for:
-
Water Stains on Ceilings & Walls – Are there signs of leaks or past water damage?
-
Attic Insulation & Ventilation – Is airflow restricted, leading to moisture buildup?
-
Mold or Mildew – Are there signs of mold growth due to trapped moisture?
-
Light Leaks – Can sunlight be seen through small holes in the roof?
-
Structural Weaknesses – Is the attic framing intact and stable?
Why attic inspections matter:
Leaks can go unnoticed for months until visible damage appears inside your home. Proper ventilation is also key to preventing moisture damage and increasing energy efficiency.
Step 3: Gutter & Drainage System Inspection
Your gutters and drainage system play a huge role in protecting your roof and home. A professional will check that rainwater flows properly and doesn’t cause damage.
What roofers look for:
-
Clogged or Blocked Gutters – Are leaves and debris preventing water from draining?
-
Water Pooling Near the Foundation – Is water being directed away from the home?
-
Loose or Damaged Gutters – Are gutters pulling away from the roofline?
-
Downspout Issues – Are downspouts cracked, broken, or improperly angled?
Why gutters are checked during roof inspections:
If gutters aren’t working properly, water can back up onto your roof, causing leaks and damage to shingles and fascia boards.
Step 4: Structural Integrity Check
One of the most critical parts of an inspection is assessing the overall structural integrity of the roof.
What roofers look for:
-
Sagging or Weak Spots – Are there areas where the roof is dipping?
-
Rotting Wood or Soft Spots – Does the roof decking feel soft or unstable?
-
Excessive Weight on the Roof – Is there heavy debris or signs of water pooling?
-
Chimney & Vent Stability – Are chimneys and vents properly sealed and secured?
Why it matters:
A weak roof can become dangerous over time, leading to costly structural repairs or even collapse in extreme cases.
Step 5: Roofing Material Condition & Lifespan Estimate
Finally, the inspector will evaluate the overall condition of your roofing material and provide an estimate of how much life is left in your roof.
What roofers look for:
-
Shingle Granule Loss – Is excessive wear visible, especially near gutters?
-
Cracks or Tears in Flat Roofs – Are there signs of splitting or deterioration?
-
Metal Roof Corrosion – Is rust forming on any metal roofing materials?
-
Tile or Slate Roof Damage – Are tiles cracked, chipped, or loose?
Why this matters:
Knowing how much longer your roof will last helps you plan for repairs or replacement before an emergency arises.
After the Roof Inspection: What Comes Next?
After completing the inspection, the roofing professional will provide:
-
A detailed report outlining any issues found
-
Photos or videos documenting roof conditions
-
Recommendations for repairs or maintenance
-
An estimated timeline for any necessary repairs
If no major issues are found, great! But if the inspector identifies potential problems, addressing them before they worsen can save thousands in repairs.
How Often Should You Get a Roof Inspection?
Most professionals recommend a inspection at least once a year, but you should schedule one sooner if:
-
You’ve recently purchased a new home
-
A major storm has hit your area
-
Your roof is over 10 years old
-
You notice leaks, sagging, or missing shingles
Final Thoughts: Protect Your Home with Regular Roof Inspections
A professional roof inspection is an investment in your home’s safety and longevity. Whether you’re a new homeowner or just trying to stay ahead of maintenance, scheduling regular inspections can help catch problems early, prevent costly repairs, and extend the lifespan of your roof. If it’s been more than a year since your last inspection, now is the time to schedule one and protect your home from the top down!