Fixing Eye-port Sashes: A good Manual
Fixing Window Sashes: A Step-by-Step Guide for Home Improvement
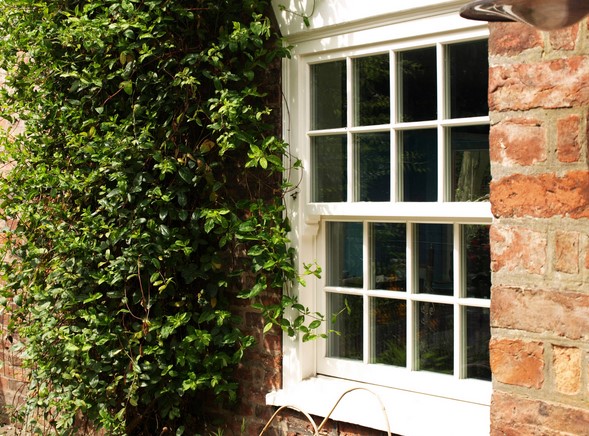
Windows play a crucial role in enhancing the aesthetics and functionality of your home. However, over time, window sashes may encounter issues such as sticking, rattling, or drafts, affecting both energy efficiency and comfort. Fortunately, fixing window sashes is a manageable home improvement project that can restore your windows to their former glory. In this comprehensive guide, we’ll walk you through the process of fixing window sashes step by step.
Step 1: Gather Your Tools and Materials
Before you begin, ensure you have the necessary tools and materials:
- Screwdriver
- Putty knife
- Utility knife
- Replacement sash cords or springs (if needed)
- Wood filler
- Sandpaper
- Paint and primer (optional)
- Weatherstripping (optional)
Step 2: Remove the Window Sash
- Open the window fully.
- Carefully remove any window coverings or hardware that might obstruct your work.
- Locate the sash stops on both sides of the window frame. They prevent the sash from sliding out. Use a screwdriver to remove these stops.
- Slide the bottom sash up, while the top sash should slide down. Gently lift both sashes out of the frame.
Step 3: Repair or Replace
Assess the condition of your sashes:
- If the sash cords or springs are damaged, you’ll need to replace them. Remove the parting beads (vertical strips separating the sashes) to access the cords or springs.
- If there are cracks or gaps in the wood, fill them with wood filler. Sand the sash smooth once the filler is dry.
- Check the condition of the glazing compound (putty) that holds the glass in place. If it’s cracked or missing, you’ll need to re-glaze the window.
Step 4: Reinstall the Sashes
- Feed new sash cords or springs through the pulley system or attach them to the sash weights.
- Reinstall the parting beads, ensuring they secure the cords or springs.
- Apply fresh glazing compound to the sash’s rabbet (the groove where the glass sits).
- Gently press the glass into the compound.
- Apply more glazing compound over the glass, creating a smooth, even seal.
Step 5: Reassemble and Test
- Reinsert the sashes into the window frame, reversing the removal process.
- Reattach the sash stops to secure the sashes in place.
- Test the window by opening and closing it to ensure smooth operation.
Step 6: Finishing Touches
- If necessary, repaint the sashes to match your home’s décor.
- Install weatherstripping around the sashes for improved energy efficiency and draft prevention.
Conclusion:
Fixing window sashes is a rewarding home improvement project that can prolong the life of your windows and improve your home’s energy efficiency and comfort. By following these steps and giving your windows some much-needed attention, you’ll enjoy the benefits of beautifully functioning windows for years to come.